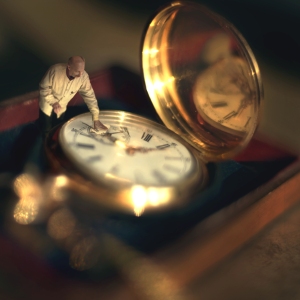
hello everyone, It has been a long time! it has been a crazy time for me, and the fact that this picture is from finland I suppose illustrates that. anyway, here is the behind the scenes of my latest picture “finland”. it was taken on a frozen lake with the most amazing snow on it. the snow flakes were gigantic (in fact, you can see them in the picture if you zoom in) and so light, fluffy and crunchy you could literally blow them away just by sweeping your hand near them.
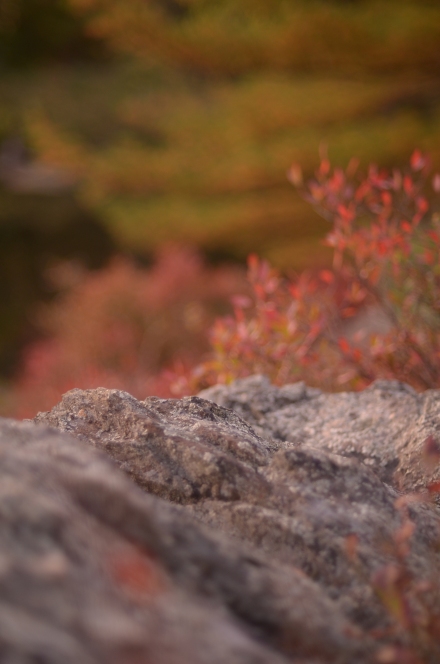
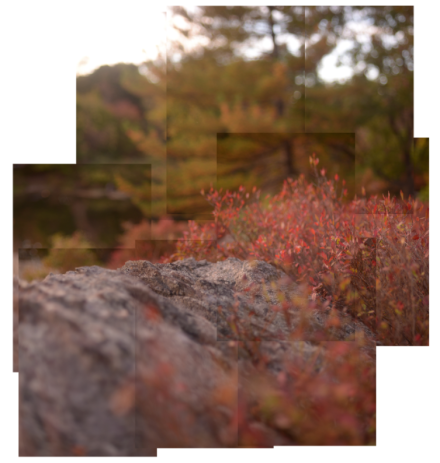
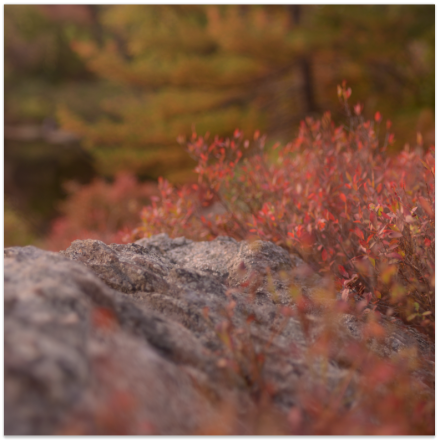
this was one of my favorite pictures to color grade, it just worked, and along the way of adding the littlefolk I learned some new techniques. lets get started. this picture was taken with my Nikon d7000 and a 35mm f/1.8 at f/1.8. the big footprints are mine, and the little ones I made with my glove. it is a collage of 6 pictures so the final shot was equivalent to a 25mm f/1.3 (calculated using this lovely extension calculator). first thing I do is merged the 6 shots:
since the sun was setting, I didn’t have a chance to photograph my models before the sun set. turns out, there wasn’t another sunny day for the rest of the time we were in finland. I always try to match conditions as closely as possible between my littlefolks and their backgrounds, but I really wanted this picture to be of one of the people from finland (Tiina) and also the family’s lovely dog (Eddie). there was nothing for it, I had to take the pictures in cloudy weather. this added a lot of extra work for me, but, all’s well that ends well.
Tiina was standing there holding onto the leash, while someone off to the left called Eddie. this made him strain at the leash and put both of them in perfectly natural positions. I didn’t really like any of the shots I got for both of them, so I used Eddie from one and Tiina from another: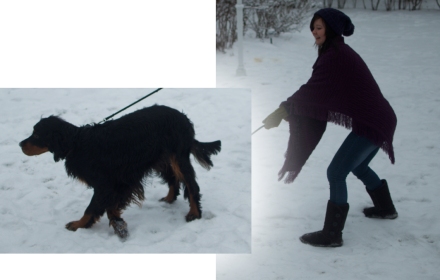
I placed them onto the scene and very roughly cut them out using masks and a brush. I then set the blend mode of both of their layers to Multiply. basically what Multiply does is make the image only appear where it is darkening the image below it, if it is brighter than what is under it, it disappears. this worked because the snow they are standing on is much brighter than what they are being photoshopped into, but they are much darker. this saved me a lot of time hand cutting them out, and creates a more perfect edge than one could ever create any other way, preserving the slight blurriness at the edge. the problem is, they are slightly transparent, and a little dark. to fix this I could have changed the blend mode to Darken (basically like Multiply but with a more sharp cutoff between dark and light) but that makes the edge of them 100% pixel perfectly sharp, which never looks good. so I make copies of each of them, set the blend mode to Normal and erased the entire edge of them so they only existed inside the originals. now they still have slightly transparent edges, but I usually make edges of littlefolk a little transparent anyway, it blends them in. also, it will come in handy later. using the magic wand I select the rough shape of both of them and apply that to a mask in a levels adjustment layer. in the adjustment I up the blues and greens in the shadows a bit to better match the background image:
now I got done with all of that and… somehow they just don’t fit. this is the issue with the fact that the picture of them was taken in very different conditions then the background was. to fix this, I thought that adding bright fringes to the edges of them, like would appear when shooting this low angle into the sun, might fix the problem. how I went about doing that is by copying Eddie and Tiina (the ones set to Multiply, not the Normal blend mode ones with the edges erased). for the moment, I hide the originals (the little eyeball button next to the layer). now I invert the colors on both of the new copies, and set the blend mode of both to Screen. Screen, is the exact opposite of Multiply. instead of only appearing where it darkens what is below it, it only exists where it brightens what is below it. after inverting the colors, the snow around them is black, so it disappears, but they are almost white. I now put these copies underneath the originals, and make the originals visible again. using transform, I make the copies slightly bigger than the originals, so they are peaking out in a lot of places. now, the fact that the edges of the characters was slightly transparent means the this new bright layer underneath is affecting the edge a little, which really sells the effect: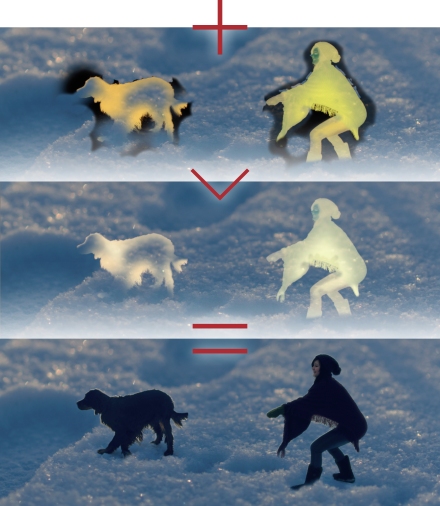
I now drew the shadows in, (just mirrored versions of the originals, with the colors changed to a blue slightly darker than the snow around them). the leash is just a drawn line with an outer glow and an emboss:
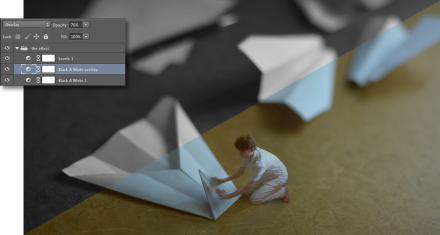
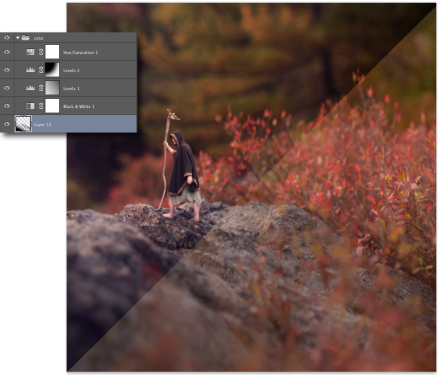
now for the color editing. the first thing I do to a lot of pictures, is try a Black and White layer, set to Overlay. it adds amazing structured contrast to flatter images. very rarely though, do I have one on 100% opacity. it is almost always is way too much. for this one though, since the “shadows” were actually only slightly below medium gray, it worked fantastically. I didn’t really like what it did to the sky though, so I masked out that area. I then added a vignette with a levels adjustment. both of these adjustments were bellow Eddie and Tiina, because they darken the image a lot, and the models were a little too dark already. above Eddie and Tiina, I decided to enhance the sun flare. I did this by creating a levels adjustment, bringing up the red, and lowering the blue channels. with a gradient in a mask, I made this only affect the area around the sun. I copied this adjustment and made the affected area a bit bigger, and in a new layer I drew a large off-white splotch around the sun, at low opacity. this flare helps the image not be too monotone blue, and makes it feel a little more like sunset: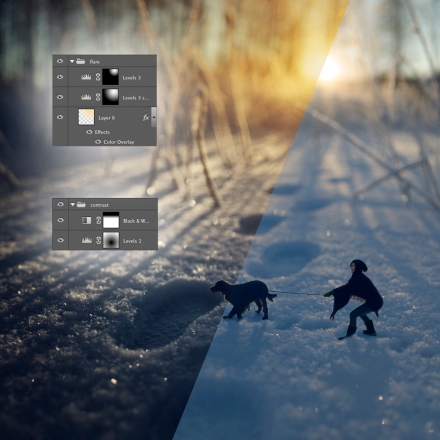
and that is it! this was a fun picture to edit, because I found some new workarounds, and learned some new techniques. I hope you learned something new as well.
you can see the full size picture on flickr, and keep up to date with new stuff like this on my facebook page.


